Conduct a physical installation walkdown
Match the actual arrangement to controlled installation evidence.
1.9 minutes · English captions · Illustrations and worked example
This lesson’s core explanations and worked-example reasoning are narrated. The table restates the example for reference; the practice activity and model answer are reading exercises.
English captions available.
Narration and visual explanations
Open View Technical Explanation to see each diagram, its text description and the matching narration. Standard abbreviations and numerals are used visually.
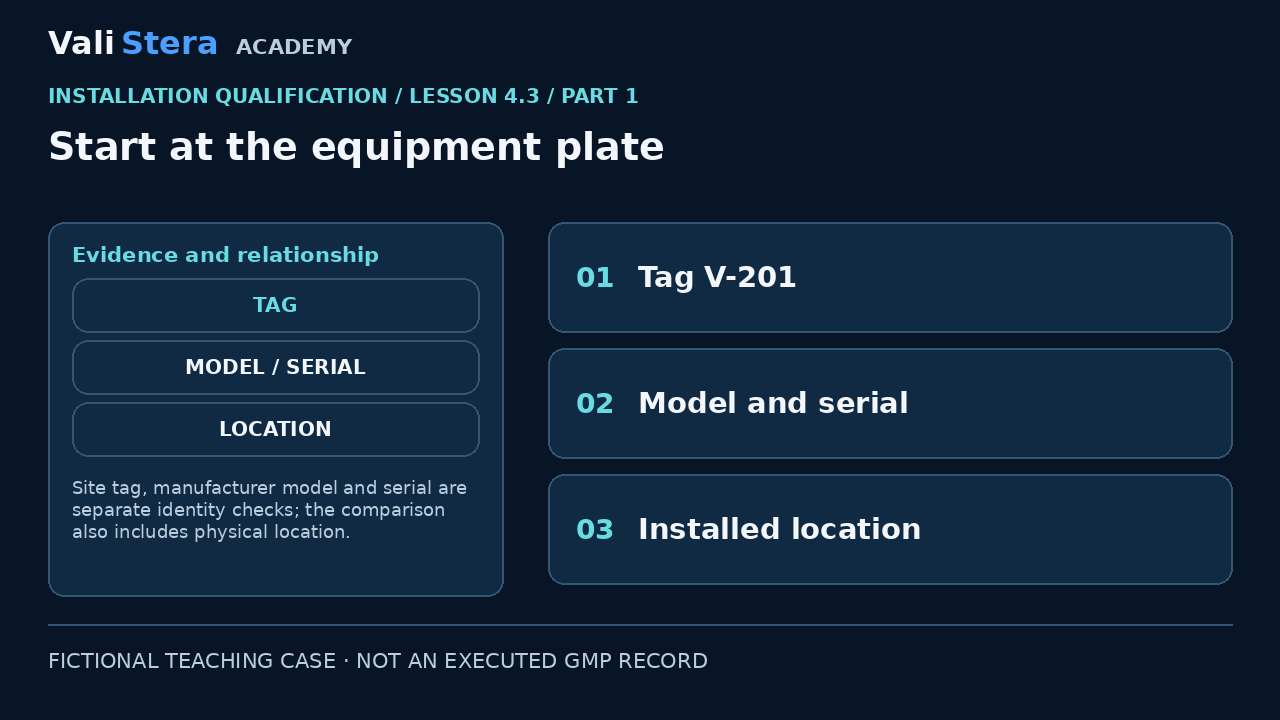
Start at the equipment plate
View Technical Explanation · Diagram 1
Lesson explanation
The walkdown starts with equipment identity, not a copied supplier checklist. Compare the vessel tag, manufacturer model, serial number and location with the controlled package. A matching tag attached to a different vessel would not establish identity. Record discrepancies individually so a later reviewer can tell which identifiers matched and which remained uncertain.
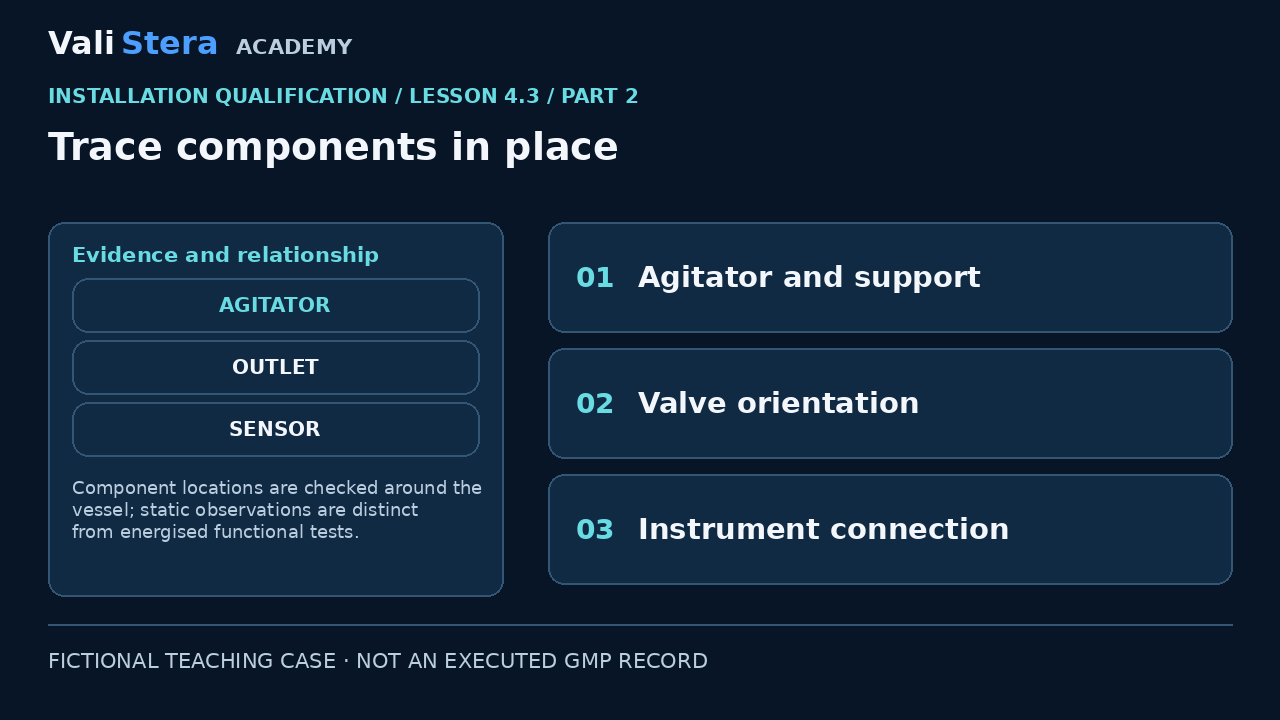
Trace components in place
View Technical Explanation · Diagram 2
Lesson explanation
Work through the installed arrangement systematically. Identify the agitator assembly and supports, then trace the outlet and instrument connections against the relevant drawing. Confirm required orientation and accessible features using the approved method. Do not run the agitator to infer installation conformity when the authorized activity is a static inspection. Functional rotation checks belong in the defined test plan.
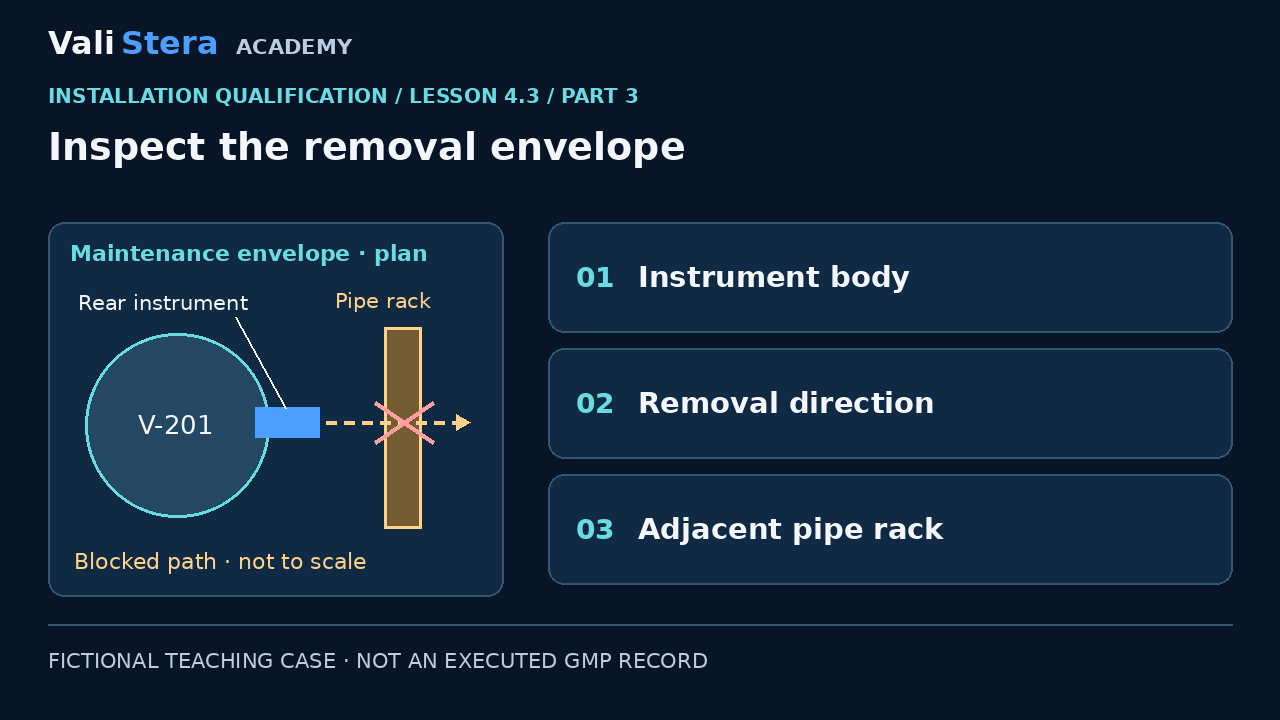
Inspect the removal envelope
View Technical Explanation · Diagram 3
Lesson explanation
The design allowed a rear instrument to slide out for maintenance, but the installed pipe rack crosses that removal envelope. A front-facing photograph misses this problem. Compare the full maintenance envelope with the approved arrangement and manufacturer requirements. No universal clearance is supplied here. Document the obstruction and its consequences without inventing a numerical GMP minimum.
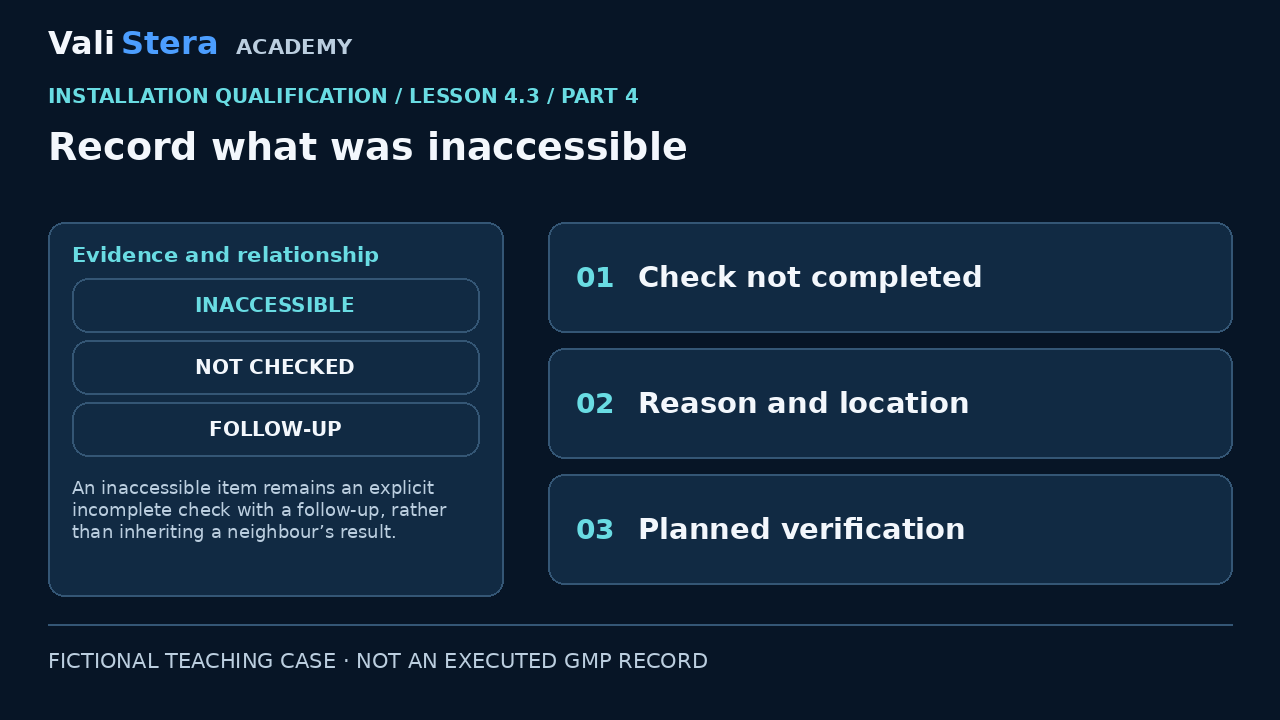
Record what was inaccessible
View Technical Explanation · Diagram 4
Lesson explanation
A covered connection cannot be recorded as verified solely because its neighbour matches. Record the inaccessible item, why it could not be examined and the agreed follow-up. If suitable controlled evidence supports another verification method, justify its applicability. Distinguish direct observation from document review so the evidence does not appear stronger than it is.
Worked example
| Element | Example |
|---|---|
| Observation | Pipe rack crosses rear instrument removal path |
| Comparator | Accepted layout and removal instruction |
| Impact | Instrument cannot be removed as intended |
| Verification | Reinspect corrected arrangement against baseline |
Apply it · Activity 3
Write a finding for a rear instrument blocked by a pipe rack. Separate observation, criterion and impact.
Open workbook activityCompare with model reasoning
Record the location and obstruction, cite the approved removal envelope/manufacturer instruction, identify maintenance implications, assign an action and specify reinspection. Do not invent a clearance value.